
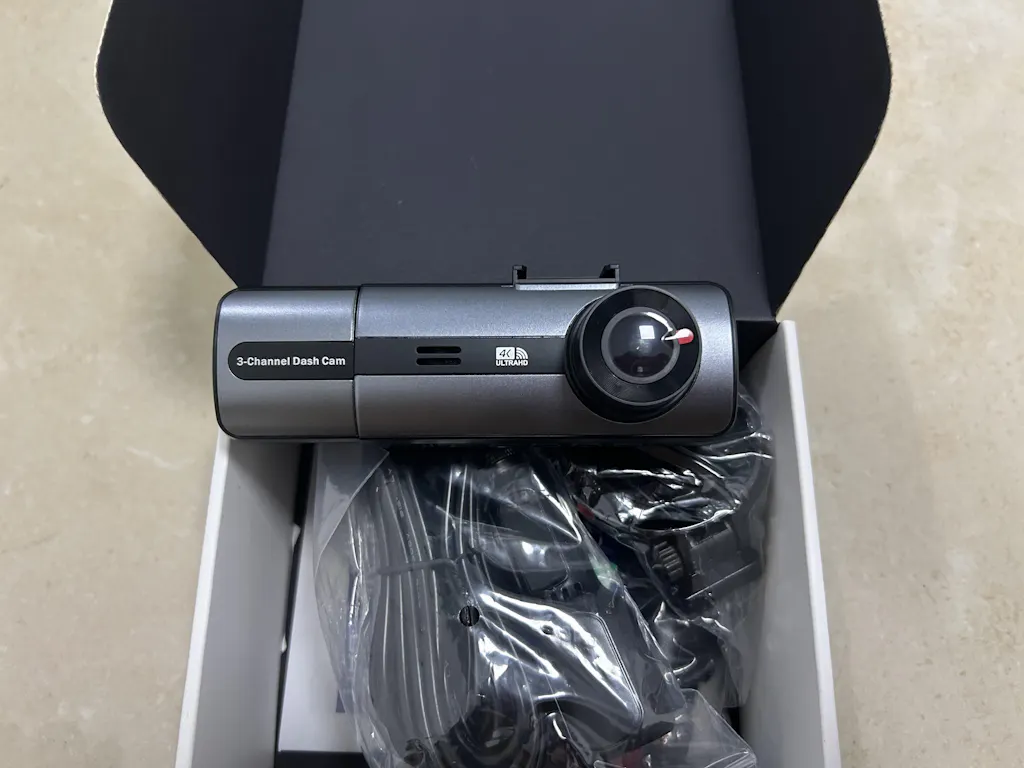
It is really great model with good housing & good quality, and it is easy to install & use, i quite like it.
We will come back again soon to buy more !
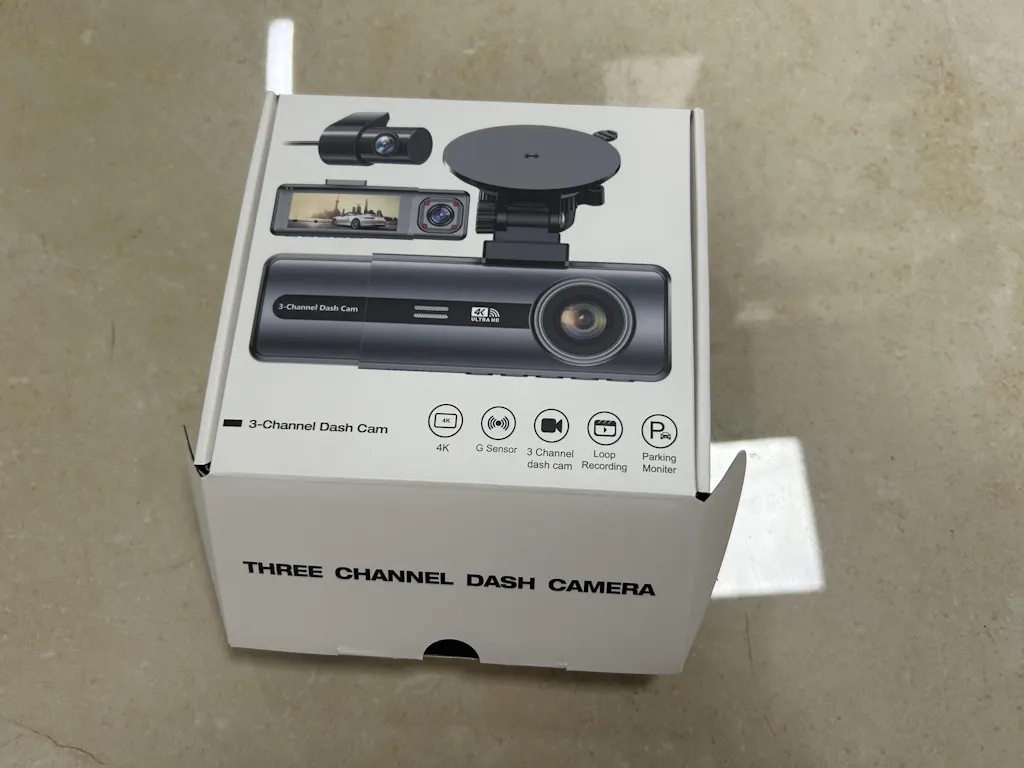
I was looking for a new dash cam with display monitor to replace the one in my car and found the Galphi at a very good deal. I decided to give it a try and was so happy that I'd made the right decision. The installation was very easy and it took me less than 10 minutes. I really like the cabin camera as it can record everything happens inside the car. The video and image quality are clear and sharp. I highly recommand this dash cam to everyone!

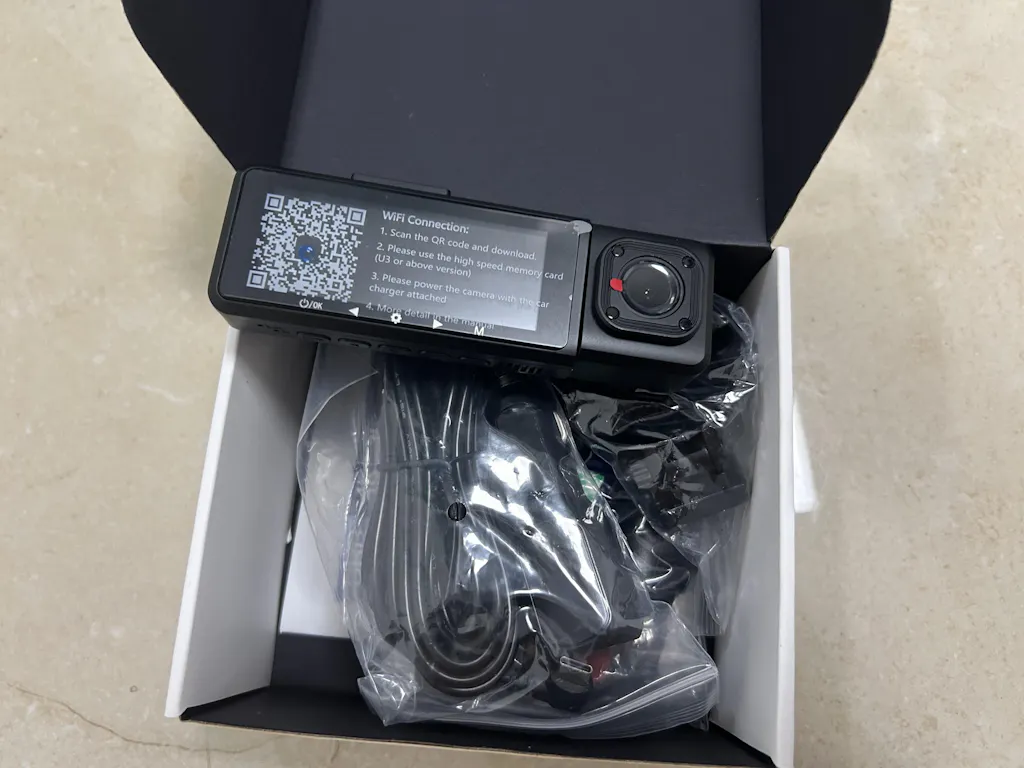
Bought this camera a few month ago and the quality is amazing. The setup was easy and only took 20-30 minutes to install. My only complain is the memory space, I understand it will get full since its recording 24/7, but the issue is that when it gets full it stops completely recording, something I never experience with pass dash cams that when its memory got full it would delete the old videos to make space for the new ones. Other than that it really good.